Sunday, April 7, 2013

Fly With Me

As Frank Sinatra would serenade, "Come fly with me, let's fly, let's fly away." My brother as a little boy dreamed of being a pilot. When he was 16 years old he became a private pilot. His pride and joy is a yellow Citabria. Whenever he has taken me flying I sing Frank Sinatra's floating song. My brother is the best pilot in the world.  For his birthday I demised an almost perfect replica of his sweet little baby ;) 


Blue 4 yards flannel
White 2 1/2 yards flannel
Brown 2 yards flannel
Yellow 2 yards flannel
Black 1/4 yard flannel
Ocean blue propeller 1/2 yard cotton
Propeller checker 1/4 yard cotton
Blue yarn
Yellow yarn
White yarn
Quilt batting queen
Backing  8 yards


Cut the blue 4 yards in half and sew to create a square.


Cut the white and brown in 6 inch strips. Sew the white strips to the top and bottom of the blue square first and then the sides. 


Sew the brown strips to the white. Top and bottom first and then sides. 


I created the airplane structure with taping 8x10 paper and cutting out the design desired. 


Use the pattern created to pin to the fabric and cut the material. 


To sew the design on the quilt I should have used an iron on applique, however I used safety pins and sewing pins galore. I am surprised I did not bleed once from the many pin pricks. ;)


I sewed a straight stitch and covered the edges with a close zig zag stitch so the edges would not fray. 


I rolled the quilt to easily maneuver and shift the quilt. 


I tired a new method, instead of cutting strips and binding, I used the receiving blanket tactic where you flip the right side out. Lay the top face down, lay quilting batting over, hand sew edges together. Lay the backing and top quilt to face each other.  Sew the edges together starting in the middle of one of the sides. Continue sewing until you have reached the side you started. Stop sewing about 18 inches from where you started. This will create a hole where you will pull the quilt right side out. I do not have a quilting frame instead I used pins again to keep the quilt together while I tied with yarn. I tied the clouds, the yellow on the plane, and as you can see the blue.  


After tying the quilt, I pined around the edges and sewed three sections, closing the hole that was created to pull the quilt inside out.


I sewed three sections to give a border. The backing was a map design with pine trees and deer. My brother has always loved the outdoors and adventures. 
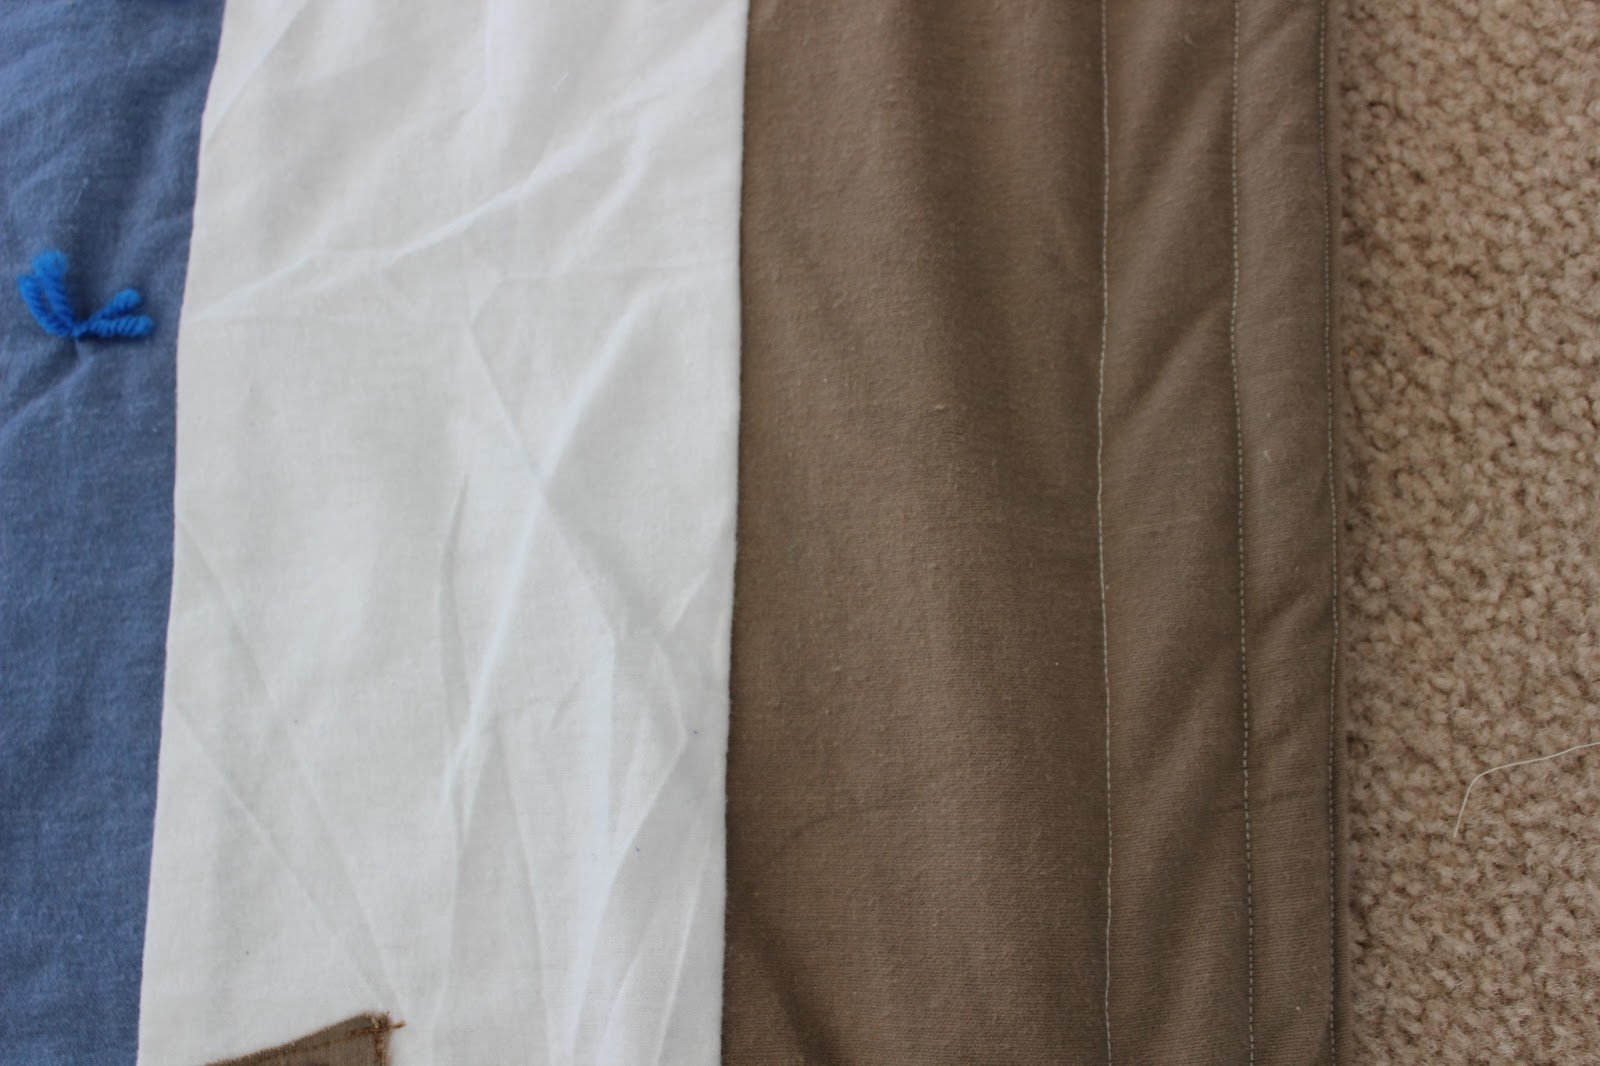

Complete and finished to be snuggled in.


Monday, March 18, 2013

Chick da la Yum!

Happy Early Easter and Happy Late Birthday!

For my husbands birthday I made him a popping peep cake. His favorite candy would be marshmallows. If there was an international marshmallow club my husband and I would be enrolled and travelling everywhere just for the delectable marshmallows. 

This would be an awesome Easter cake to make with kids.


1 white cake mix (plus ingredients)
2 cans of frosting
2 packages of bunny peeps (1 pink, 1 orange)
1 package of chick peeps
2 8" round pans
Decorative platter

Follow the baking directions and split the batter up between two cakes. Lay first cake on platter, frost top of  the first cake and place second cake on top so it won't move. Apply the rest of  the frosting to the two cakes. Place bunny peeps around the cake, scatter sprinkles, and place as many chick peeps on top. 

Bon Appetit! 


Wednesday, March 6, 2013

Why Chic Da La Freak?

I am sure you are thinking Why Chic Da La Freak? All of us as humans want to feel chic, elegant fashionable, and stylish, however there are moments in time where we really are freaks, awkward, unusual, unpredictable, and plainly odd. That brief period of time shows who we really are by learning to laugh and pick ourselves  back up. Chic Da La Freak literally means Chic By The Freak. I have learned the hard way to pick myself up and laugh, it is not always easy however it is always worth it.

Example of Chic:


Example of Freak:


I attempted to conquer the DIY body form for 1/10 of the price, well it turned out as something of a hilarious joke between my husband and I. Not as easy as it looks. I am saving up for a real, non-busting body form hanging in the closet. Again may I say Freak!

This is what it should actually look like.

http://personalizedfashion.blogspot.se/2010/02/how-to-make-your-own-dress-form.html?m=1

Happy Freak day to silly mistakes!

Tuesday, February 26, 2013

Freezing Fringe

I love scarves. I have been a huge fan of throwing one around my neck as an accessory to any outfit. Lately the weather has been so cold a scarf is the only thing that will keep my neck warm. Even though this scarf may not prove warm and cuddly, I sure think it is new, inventive, and gorgeous. 


Here is how you make it. 
You will need: fabric 2 yards long x 14 in wide. 
2 yards Fringe (6in)

Pin fringe in the middle of fabric.


Sew the fringe using a close and tight setting.


I decided to just tie the sides together forming a knot. 


The last part is to remove the plastic thread that has kept the fringe ends together. You simply lightly grasp with thumb and finger and pull away from the fringe that has been sewn.  


Hope you enjoy and Good luck!


Saturday, February 23, 2013

Trash to Treasure

I have never really believed or felt the old saying of: "Another man's trash is another man's tresure" would or could mean anything in my life. I stand mistaken and will gladly rub it in my own face (pretending it is chocolate cake).


My sister Carlie, her husband and two adorable daughters live in Italy and invited my mother and I to come and visit last year in March. Carlie entertained us with shopping at incredible markets. I am a "Shop Digger" meaning I have to literally pull, tug, and toss clothes aside to get my thrill of a good deal. I have to earn my reward. Silly? Yes, I know.

A winding road to the Amalfi coast changed my life forever. ;) Italians are known for exquisite intricate tile making. Tiles that have been broken or sentenced as no good are thrown into the ocean. Over time the edges are softened and washed up on the beach. Well can you guess that my mom, sister, and I just about DIED!!!! We found our trash that would become our treasure.


Sadly enough our journey was coming to an end. With the 50 lbs of tile stowed away in our carry-on we believed nothing could stop us. The first security line termed a scene of drama. The guard informed us after opening our bag that we were not allowed to take these tiles on the plane. We would have to go back and check them in on the plane or throw them away. There were 30 minutes standing between us catching our plane or sending our tiles home without us. :(  I was overcome with emotion due to the attachment that was made on the sandy beaches of the gorgeous Amalfi coast, that I immediately started to cry and plead with the man to let us take them on the plane. Sniff sniff. Quote, "It is just trash sir, please let me take them." Sniff sniff.  The dark haired man starred at me and my mother in an amazed shock and looked at his coworker, paused and started to zip up my bag with the tile inside. He raised his hand and said, "Bella la signorina no cry. No cry bella. Go to plane. Have a nice flight." With that he gave us kisses on each cheek and we were off!

I will never forget that man and how he saved my mother and I from bestowing our treasure to the trash.

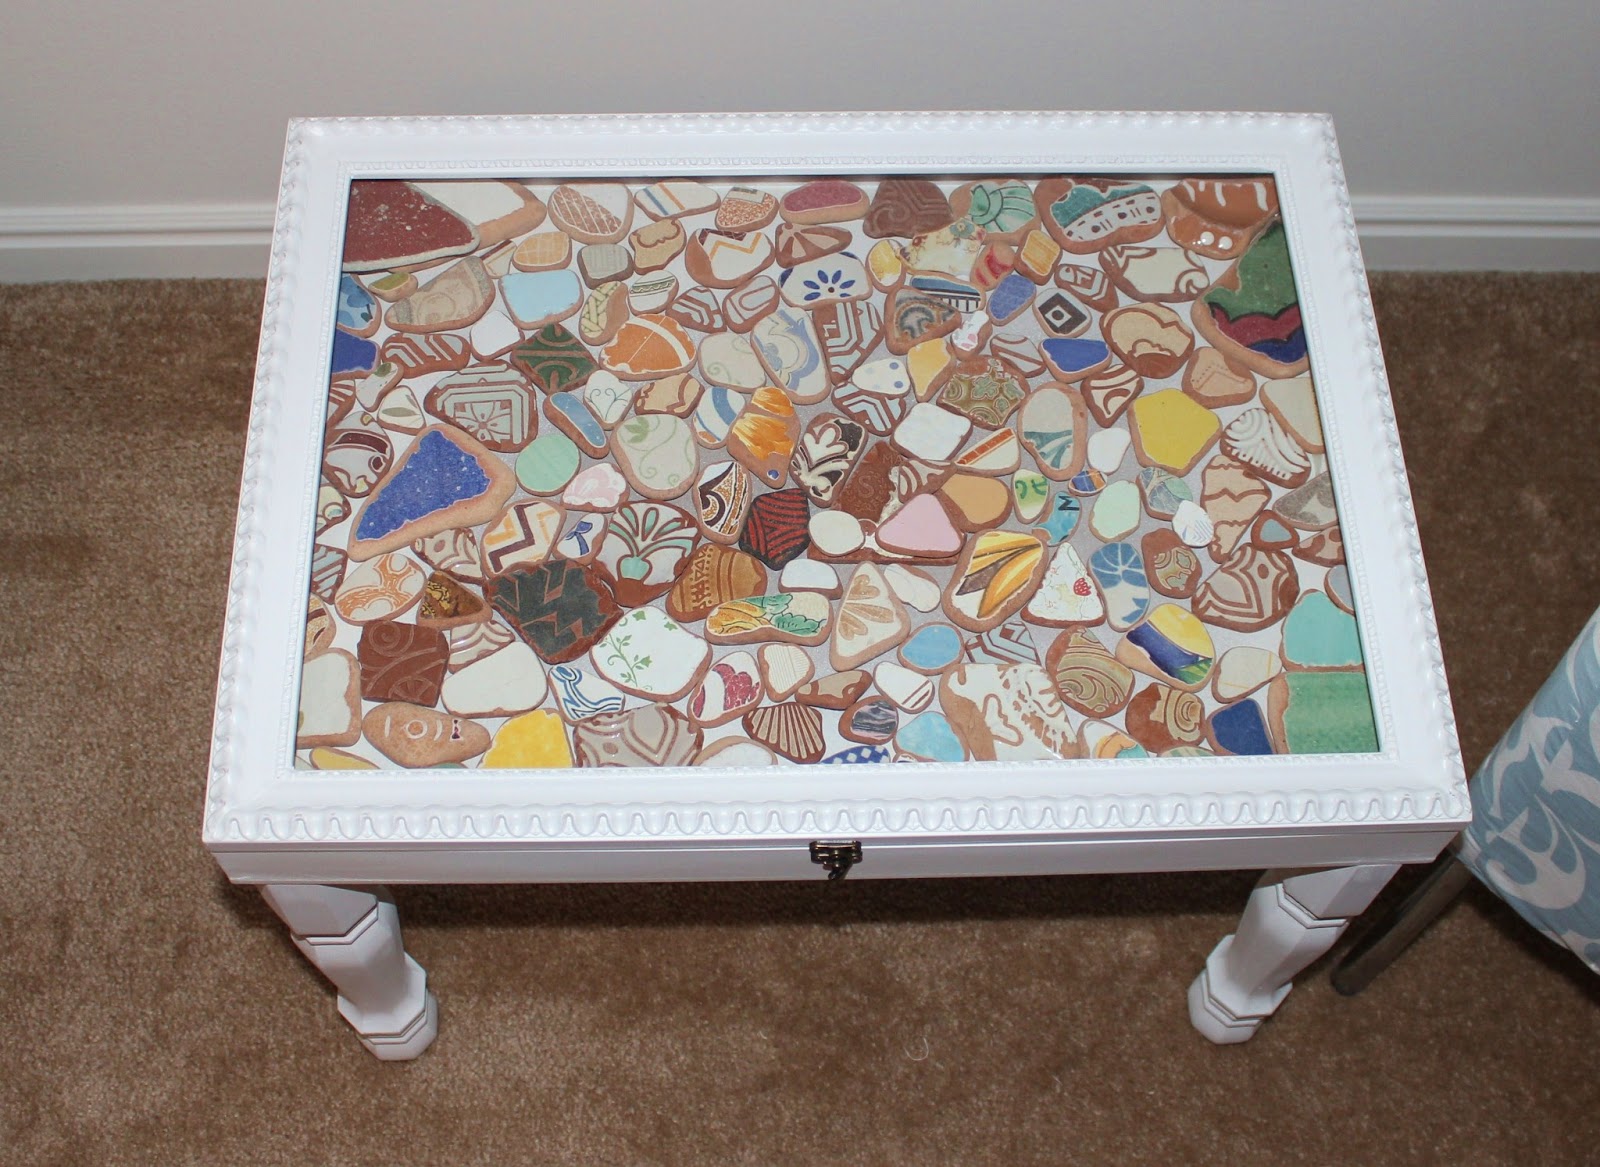
Finally my long due project has come to an end. I have been wanting to find a shadow box table to display my tale and bond with beautiful trash.

I found the shadow box at Ross Dress for Less for $20 and the legs at Home Depot $5 each.


With a little paint and my mans strength. Bam a shadow box table. 


A place for my precious tile. 


Wednesday, February 20, 2013

Happy Very Late Valentine's Day


My cute hubby surprised me coming home from work with a dozen gorgeous red roses, music, my very own slice of chocolate and coconut cheesecake from The Cheesecake Factory, and a heart shaped pizza. I love that man of mine! 

In my life I have learned to always take the chance to tell someone you love them. I lost my amazing daddy 5 years ago and I can still remember the last time I told him that I loved him. I challenge You to not miss an opportunity.

Happy very late Valentine's Day.

Sunday, February 17, 2013

Hibiscus Animal Print NOT Out of Control

This is my DIY maxi skirt with zipper and slit on the right side. I really loved the pattern and color. You can wear black, brown, mustard, white, tan, and gold. This can be worn for all types of seasons with different accessories. 


What you will need:
  • 9in zipper
  • 1 1/2 yards fabric
  • thread to match
Cut 3 in strips long enough to go around your natural waistline.


Sew your skirt to your waistband making pleats. Sew your sides together leaving a slit starting at your knees.


 Attach zipper to side seam. 


Make something that fits your body type. Be proud of your nice curves, long legs, or whatever it maybe. Love yourself and feel chic!!!